Cloud Storage
Manage Volumes:
In this menu, you can Create/Modify/Delete your volumes.You can create 3 types of volumes: NFS, iSCSI and S3.
On the mainpage, you see your IP Address you can use to connect to your volume.
The quota you see is the quota you use at this moment and the total quota available for your account.
Please note: You are only billed for the used quota.
Create Volume
To create a new volume, you can press the 'Add new volume' button.
You should add a Volume Name, Size (in TB), Description and Type (iSCSI, NFS or S3).
iSCSI
Enable CHAP Username & Password: (Optional, default: No CHAP)
You can enable CHAP Username & Password, and enter a CHAP username and CHAP password.
This CHAP username and CHAP password is only used to connect to the target (not for the discovery of the targe).
Please note that Your CHAP username should differ for all your volumes.
iSCSI Client Name (IQN): (mandatory)
If you want to add a IQN (iSCSI Qualified Name), you can add a IQN in the form of iqn.2017-09.be.belnet:test.
ISCSI Client IP Address or Subnet: (Optional, default: empty/everyone)
you can add some Network addresses that have access to your iSCSI target.
This can be entered as CIDR notation or IP Address (e.g. 193.190.198.1,193.190.198.1/32 or 193.190.198.0/24)
Please note: if you don't specify one of the following, your iSCSI target is open for everyone.
If you Click 'Add Volume', a task started to create the volume.
This can take a while (depending on the size and type of the volume), after the task is executed your volume is ready to be used.
NFS
NFS Client IP Address or Subnet: (mandatory)
IP Addresses that should have access to the volumes.
You can specify it in CIDR notation or IP Address (e.g. 193.190.198.1,193.190.198.1/32 or 193.190.198.0/24)
S3
The Access key and Secret Key will be generated automatically, and can be retrieved afterwards in the interface.Buckets can be locked only when creating the bucket, for more information about object locking see here.
E.g. if you create a bucket with a retention period of 365days, and you put an object in the bucket, you cannot remove the volume (and will be charged for the volume) the next 365days.
Modify a volume
You can at any time increase the size of your volume (please note: shrinking is not possible).
For iSCSI, description, CHAP credentials, IQN or Client IP addresses can be changed always.
For NFS the description and client IP addresses can be changed.
For S3 only the description or retention period (for a locked bucket) can be changed or the credentials can be reset.
Resize a iSCSI volume
For resizing a iSCSI volume, please be sure you unmount and logout the volume on your side, before resizing the volume.
After the resize is done in the interface, reconnect to the volume and don't forget to resize the filesystem on your side.
Snapshots
For NFS or iSCSI you can take snapshots. A snapshot is a logical copy of your volume on the time you create the snapshot.You can always revert your volume to a snapshot (point-in-time recovery). If you revert, your actual volume data will be lost and the data from the snapshot will be restored.
Please note: a snapshot count for Billing and Quota.
If you have for example a volume of 1TB, and you take a snapshot, you are billed for the volume of 1TB and for the snapshot of 1TB. The used quota will also be 2TB after the snapshot is created.
Connecting to your iSCSI volume:
Go to Linux iSCSI Documentation Go to Windows iSCSI DocumentationiSCSI on Linux
We will show how you can mount your iSCSI volume on a Ubuntu Linux:- First of all, you need to install a iSCSI initiator, here we choose open-iscsi:
- After that, you need to configure your initiator:
- Discover your volume:
- Login into your volume:
iSCSI on Windows
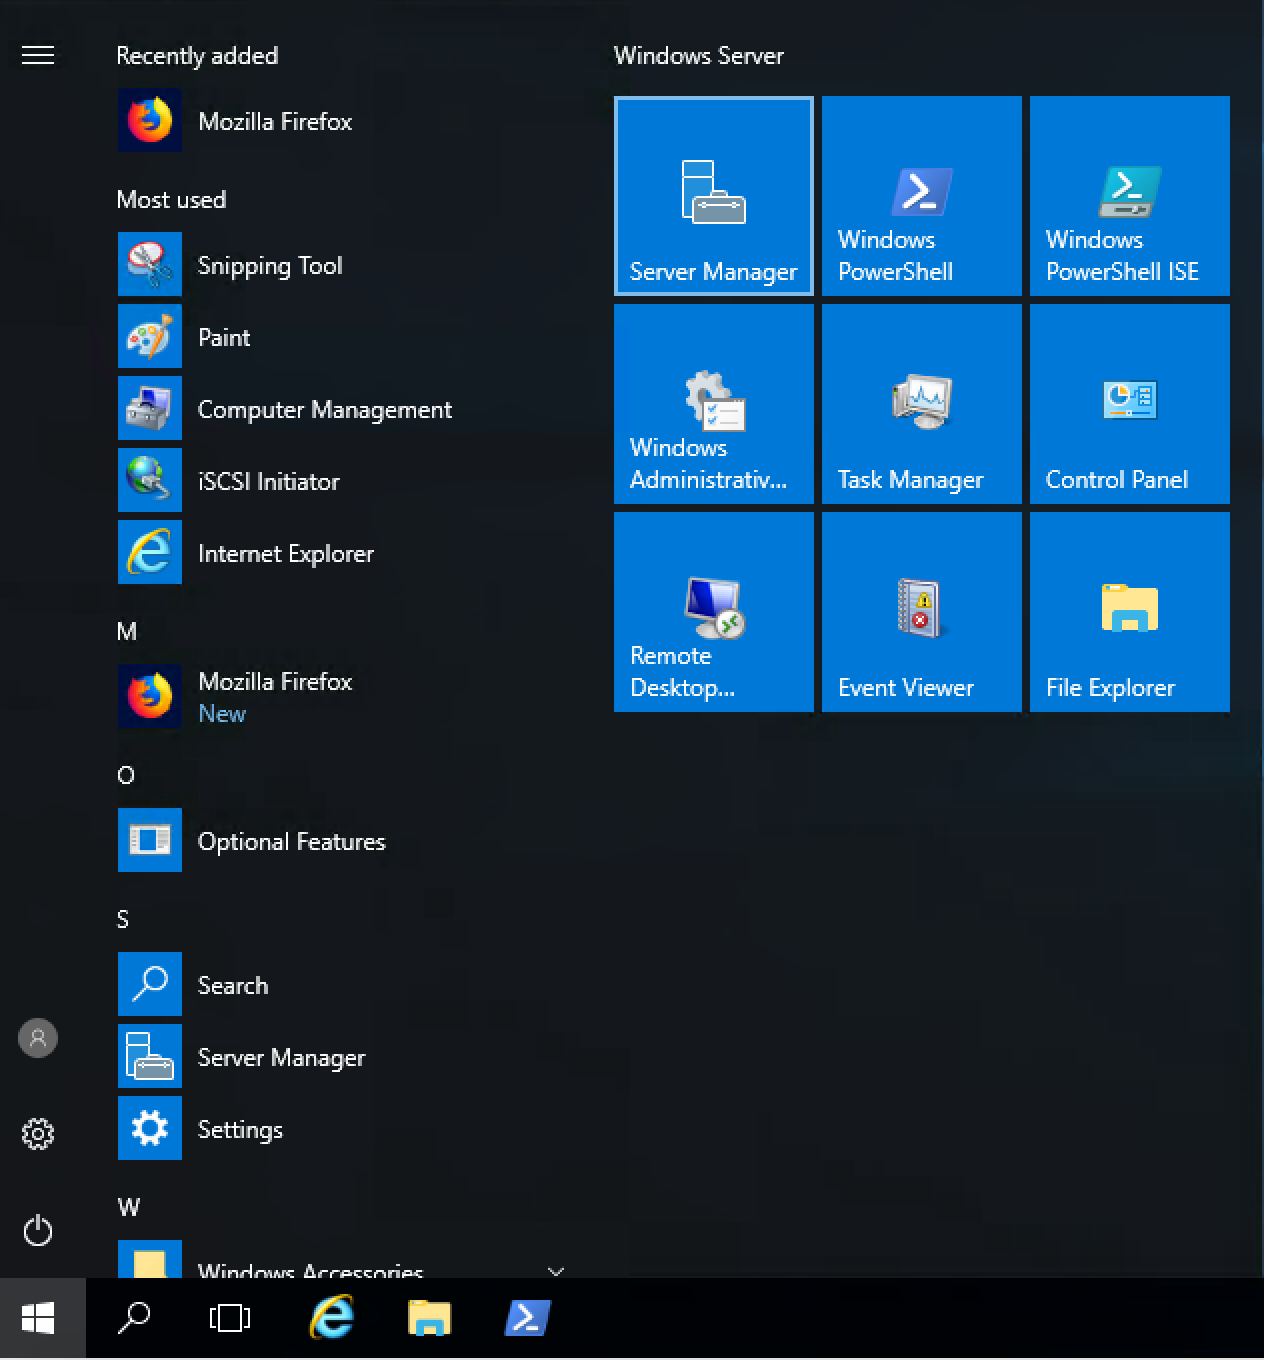
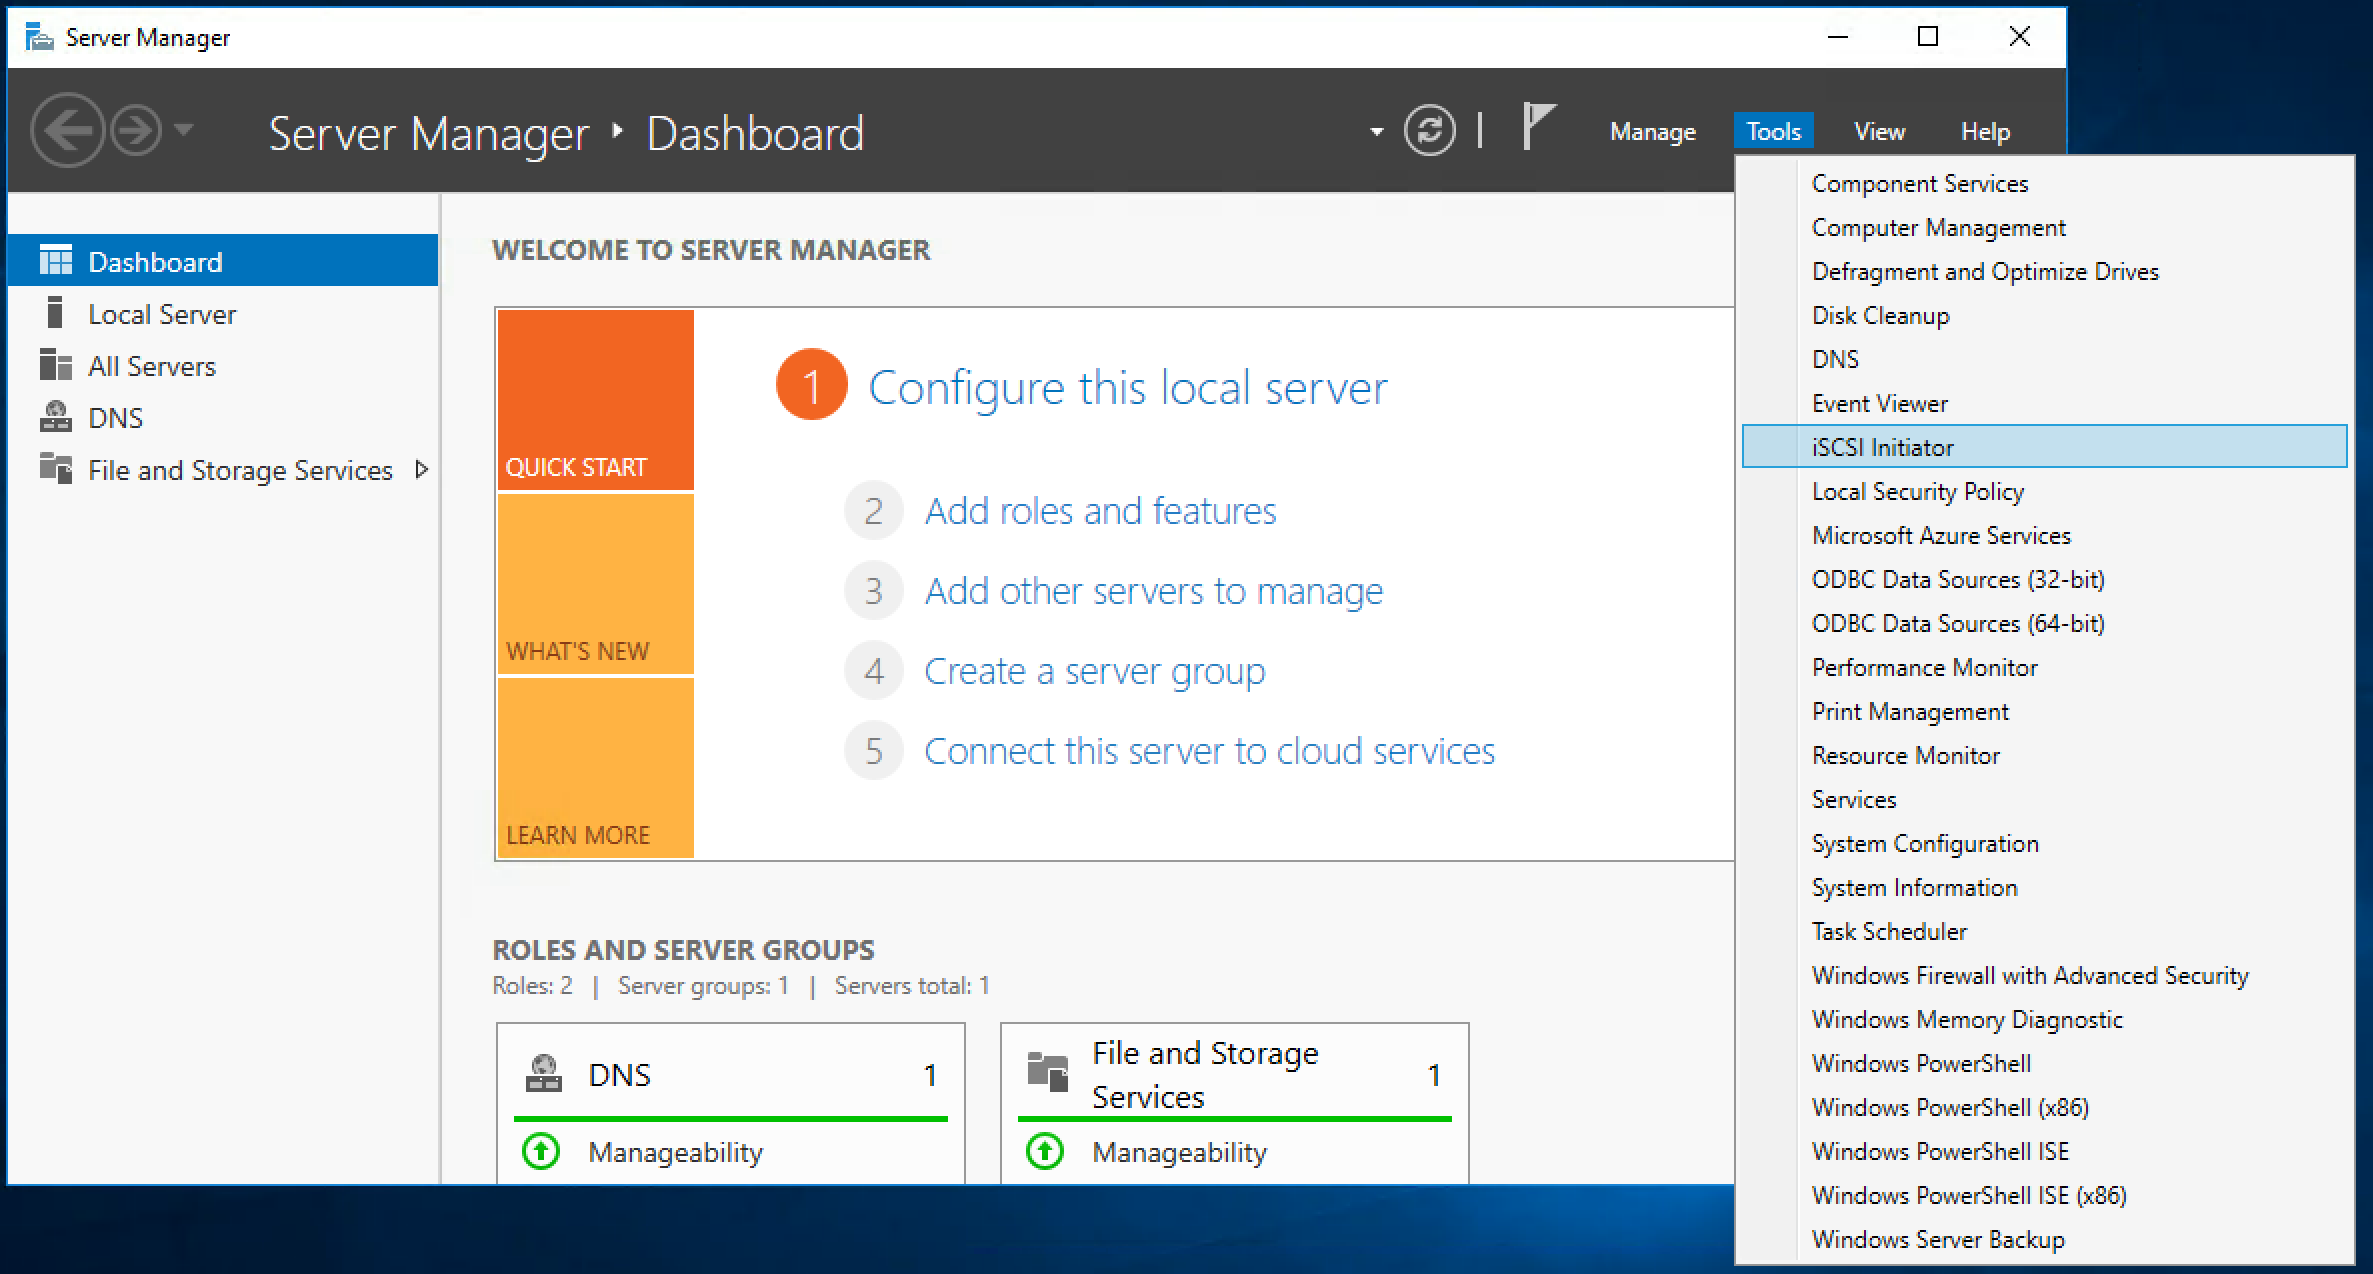
- Open Windows Server Manager (start => Server manager)
- Click on 'Tools' => iSCSI initiator
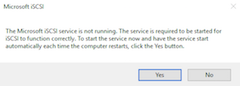
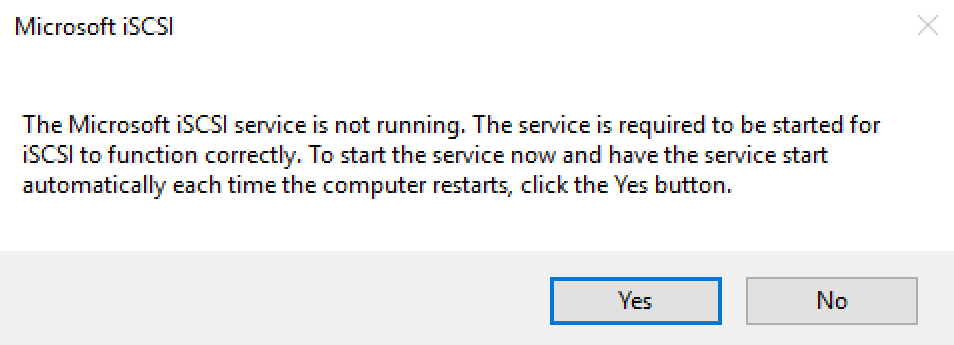
- Click 'Yes' to run the ISCSI initiator Service (this should be done only the first time, after that the service is started automatically)
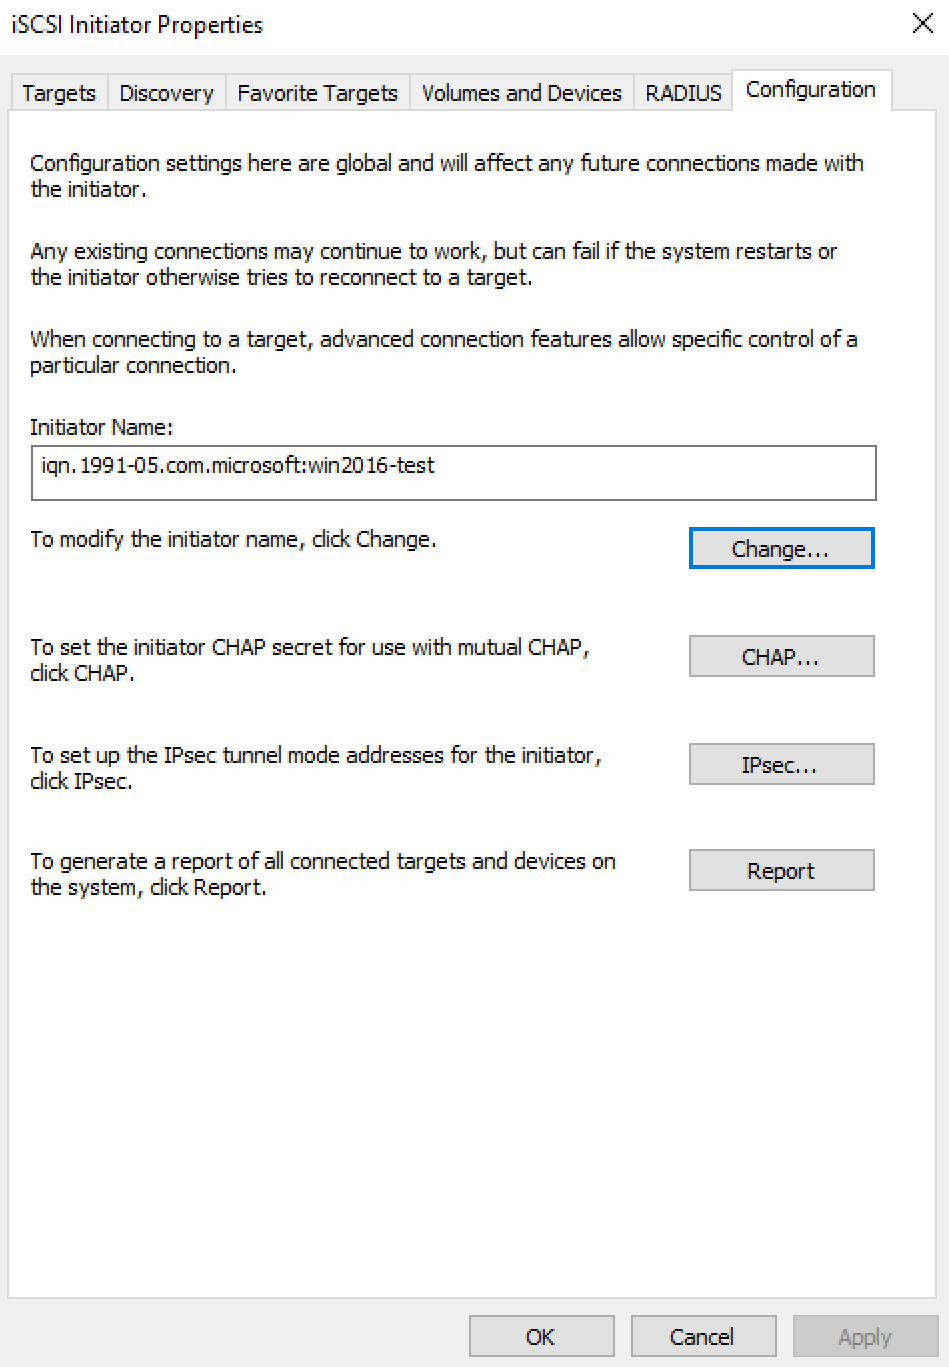
- Ensure that your IQN is correctly entered on the webinterface: Click on Configuration and check that the 'Inititor name' is correctly entered in the web GUI (if you entered one), otherwise the volume will not be discovered.
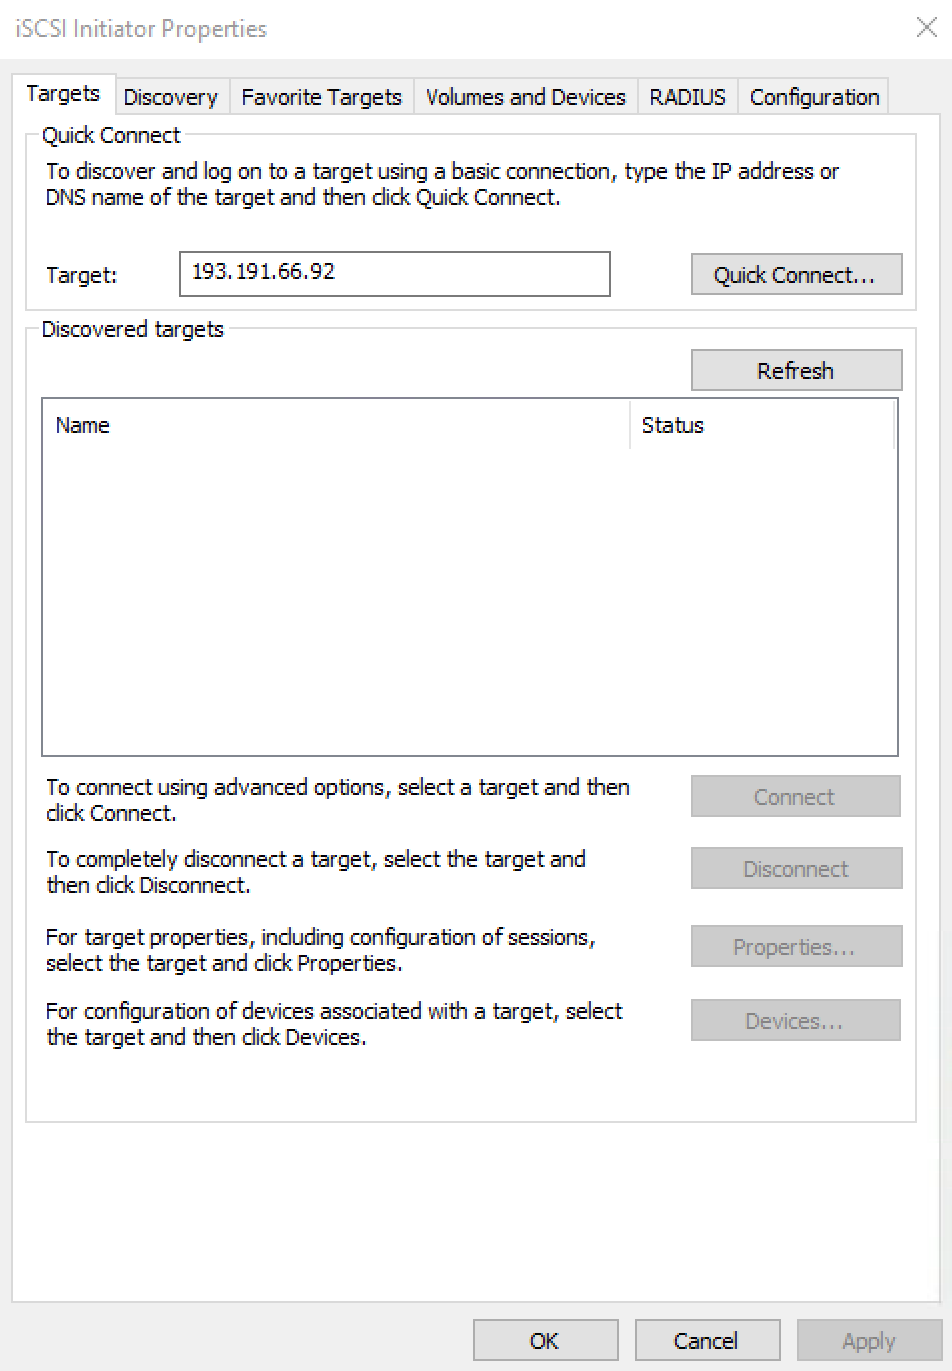
- Enter your Volume IP in the Target field and click 'Quick Connect' and click 'Done'
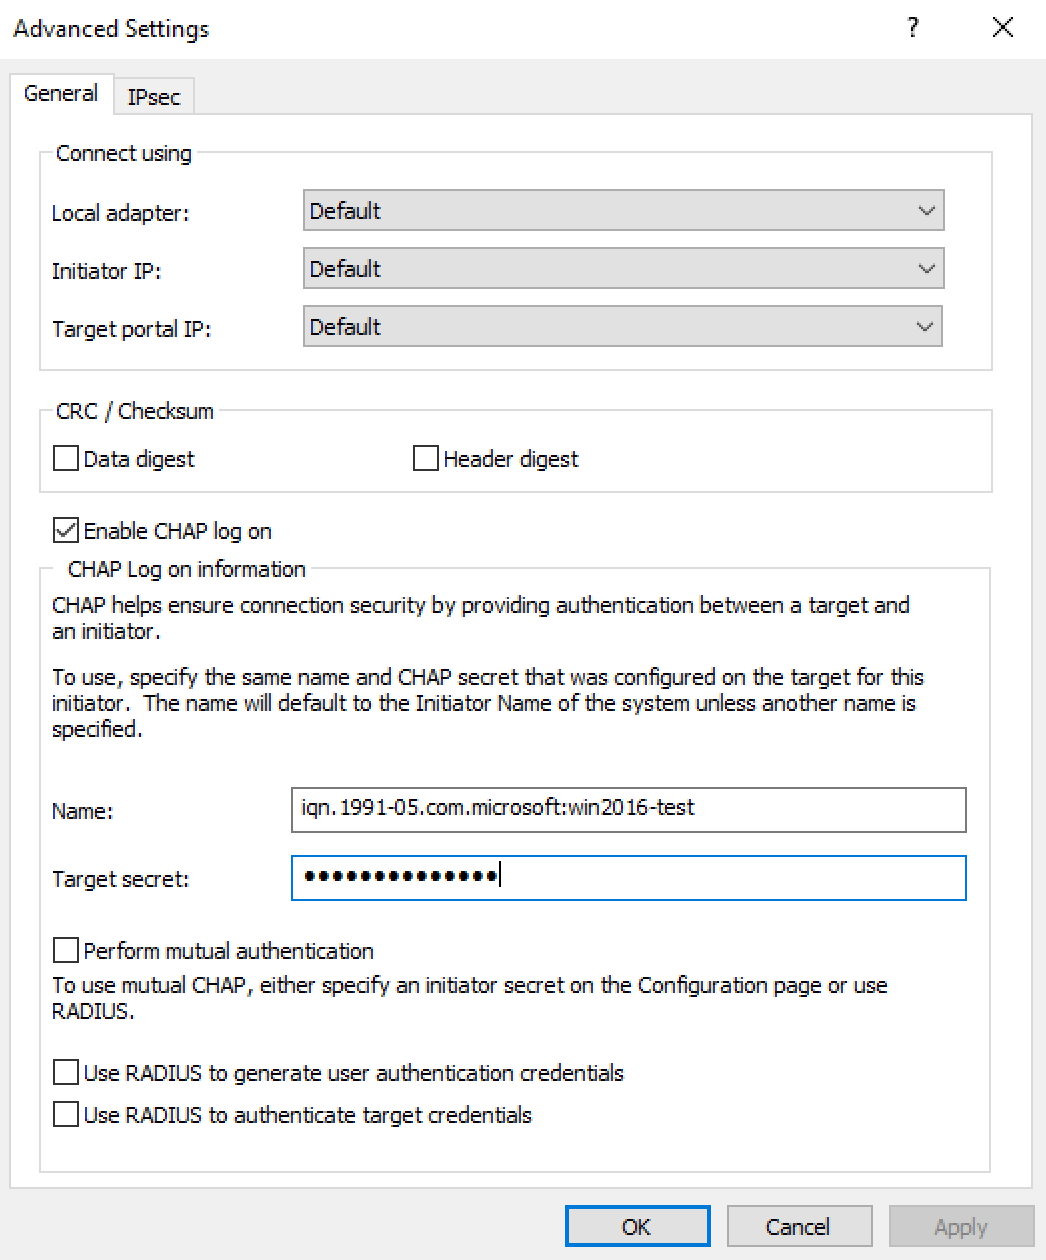
- Click Connect => Advanced
- Click on 'Enable CHAP logon' and enter your CHAP credentials and Click on OK
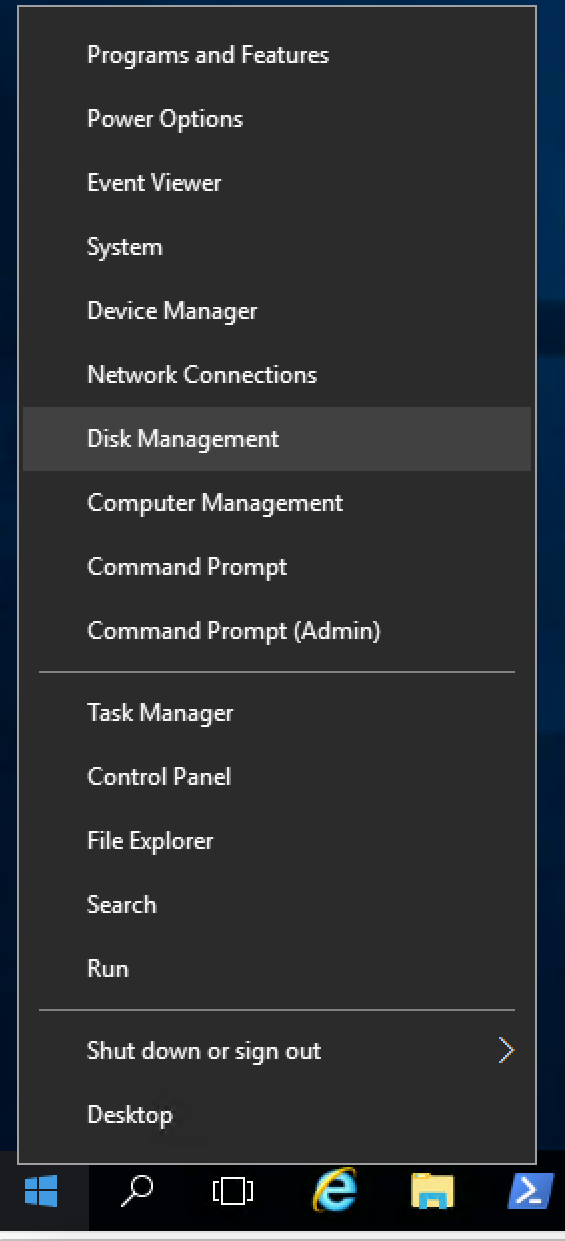
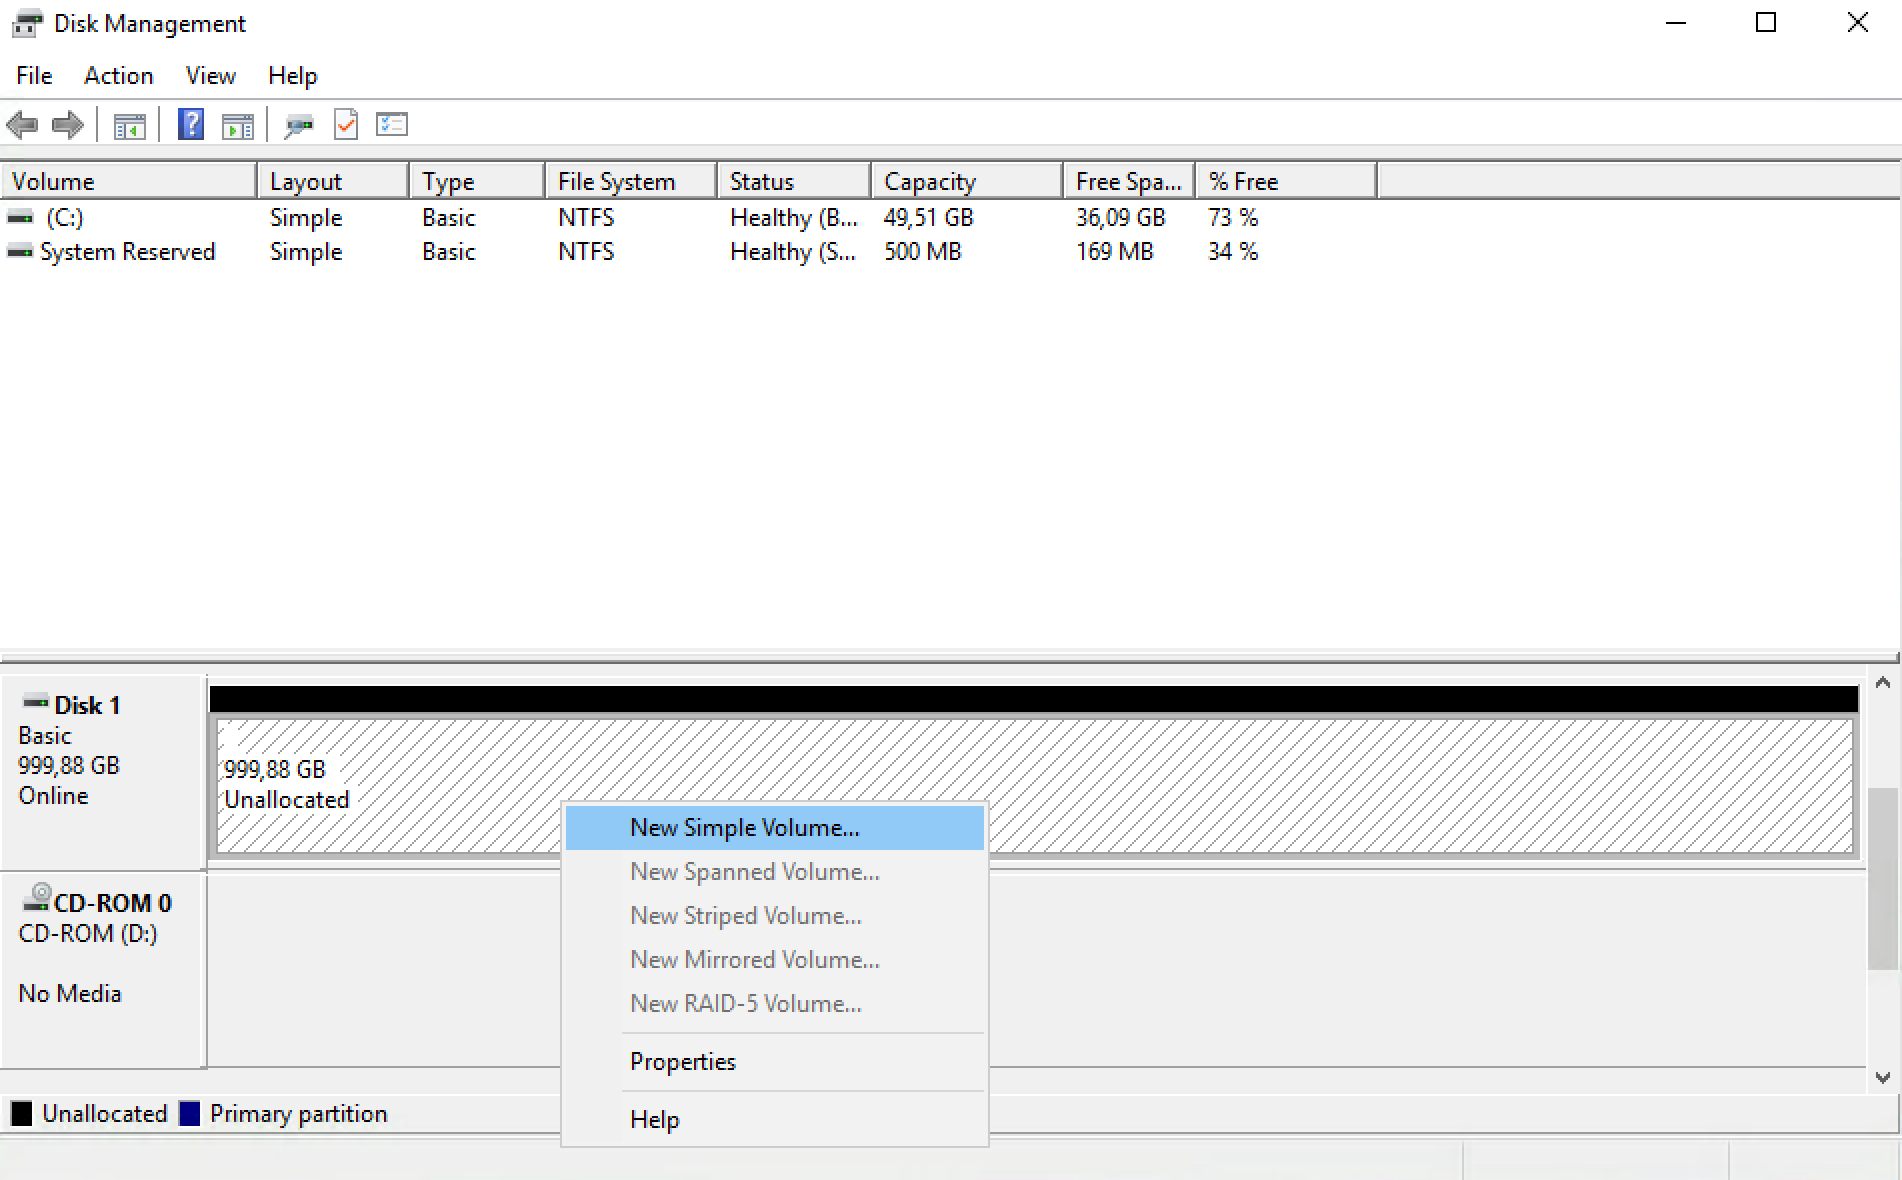
- Go to disk managment tools (right click on the start menu and click Disk Management
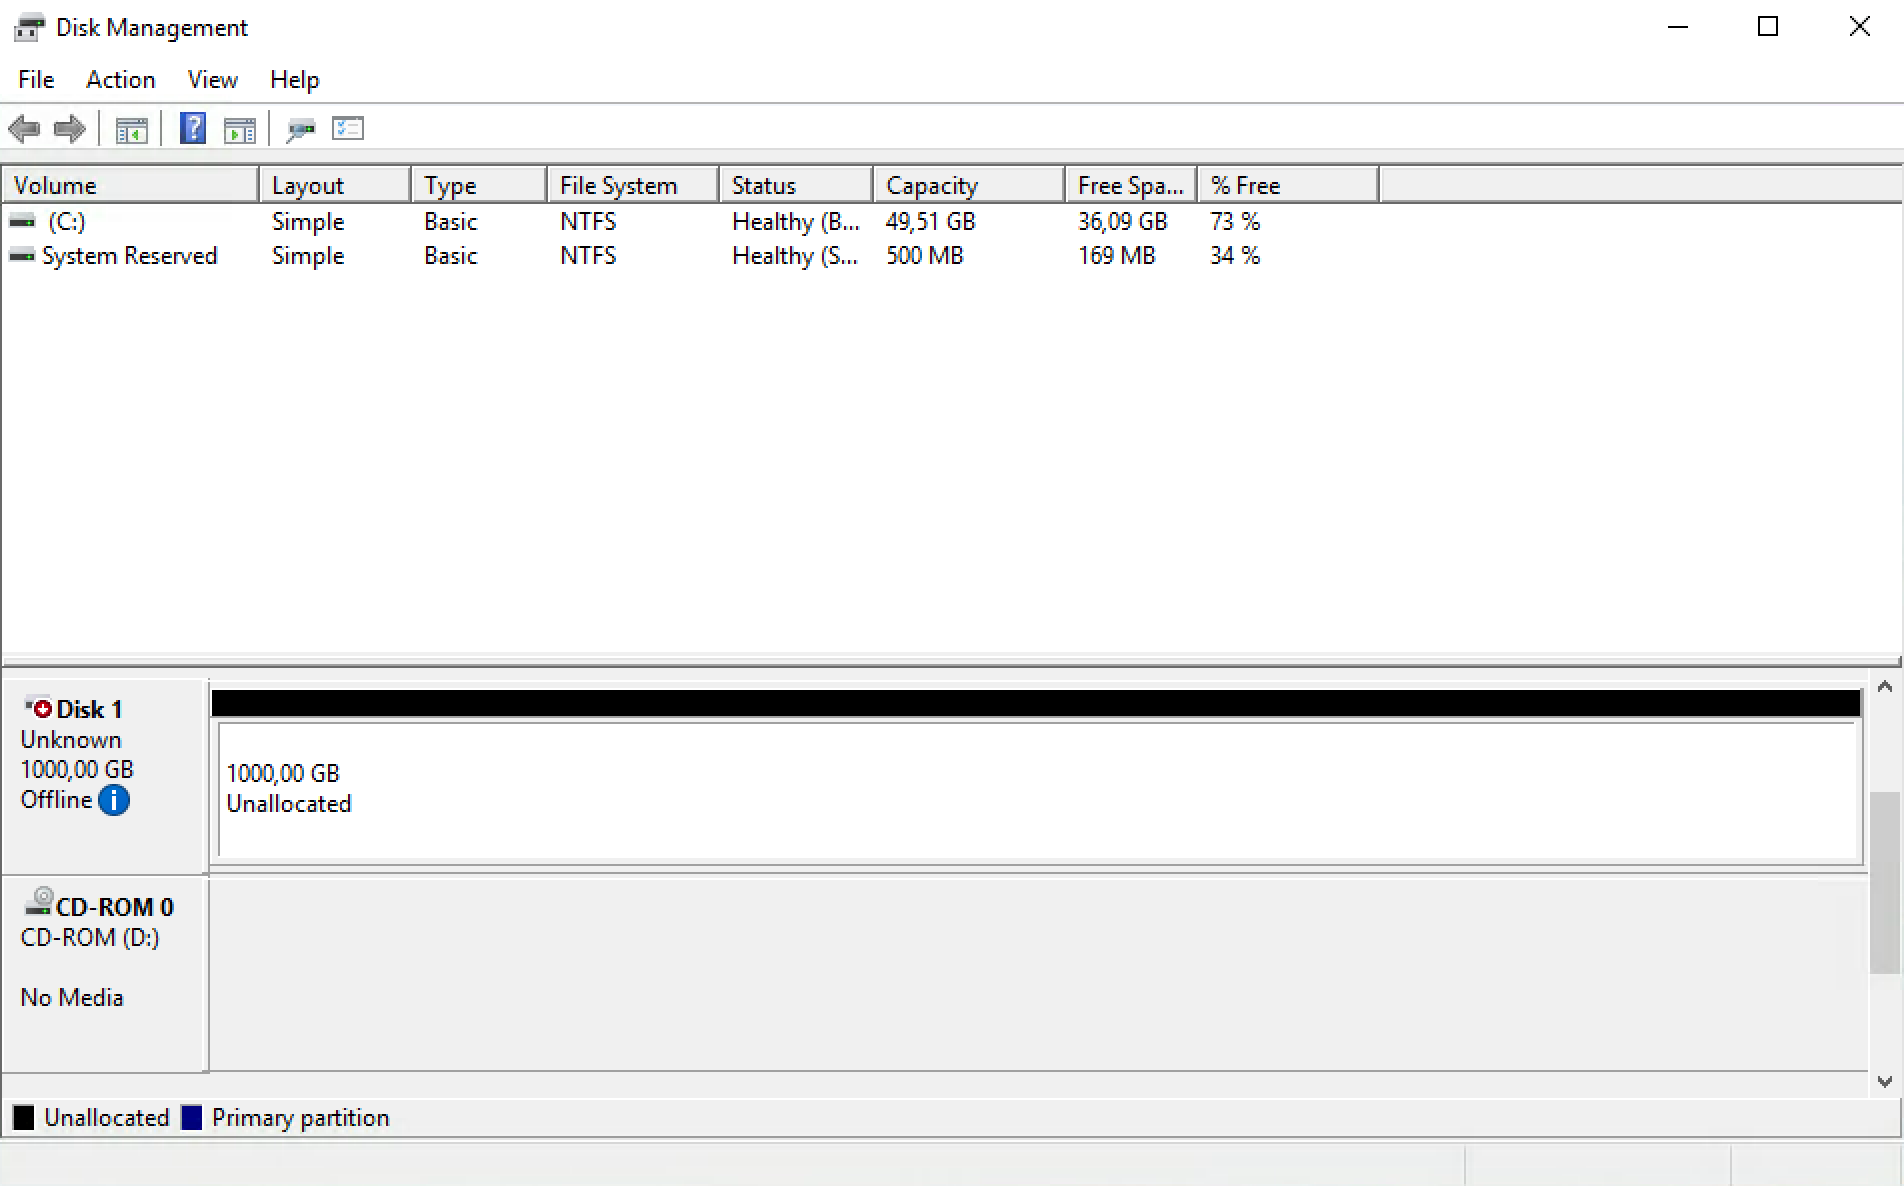
- Right Click on the disk and click on Online to bring the disk online
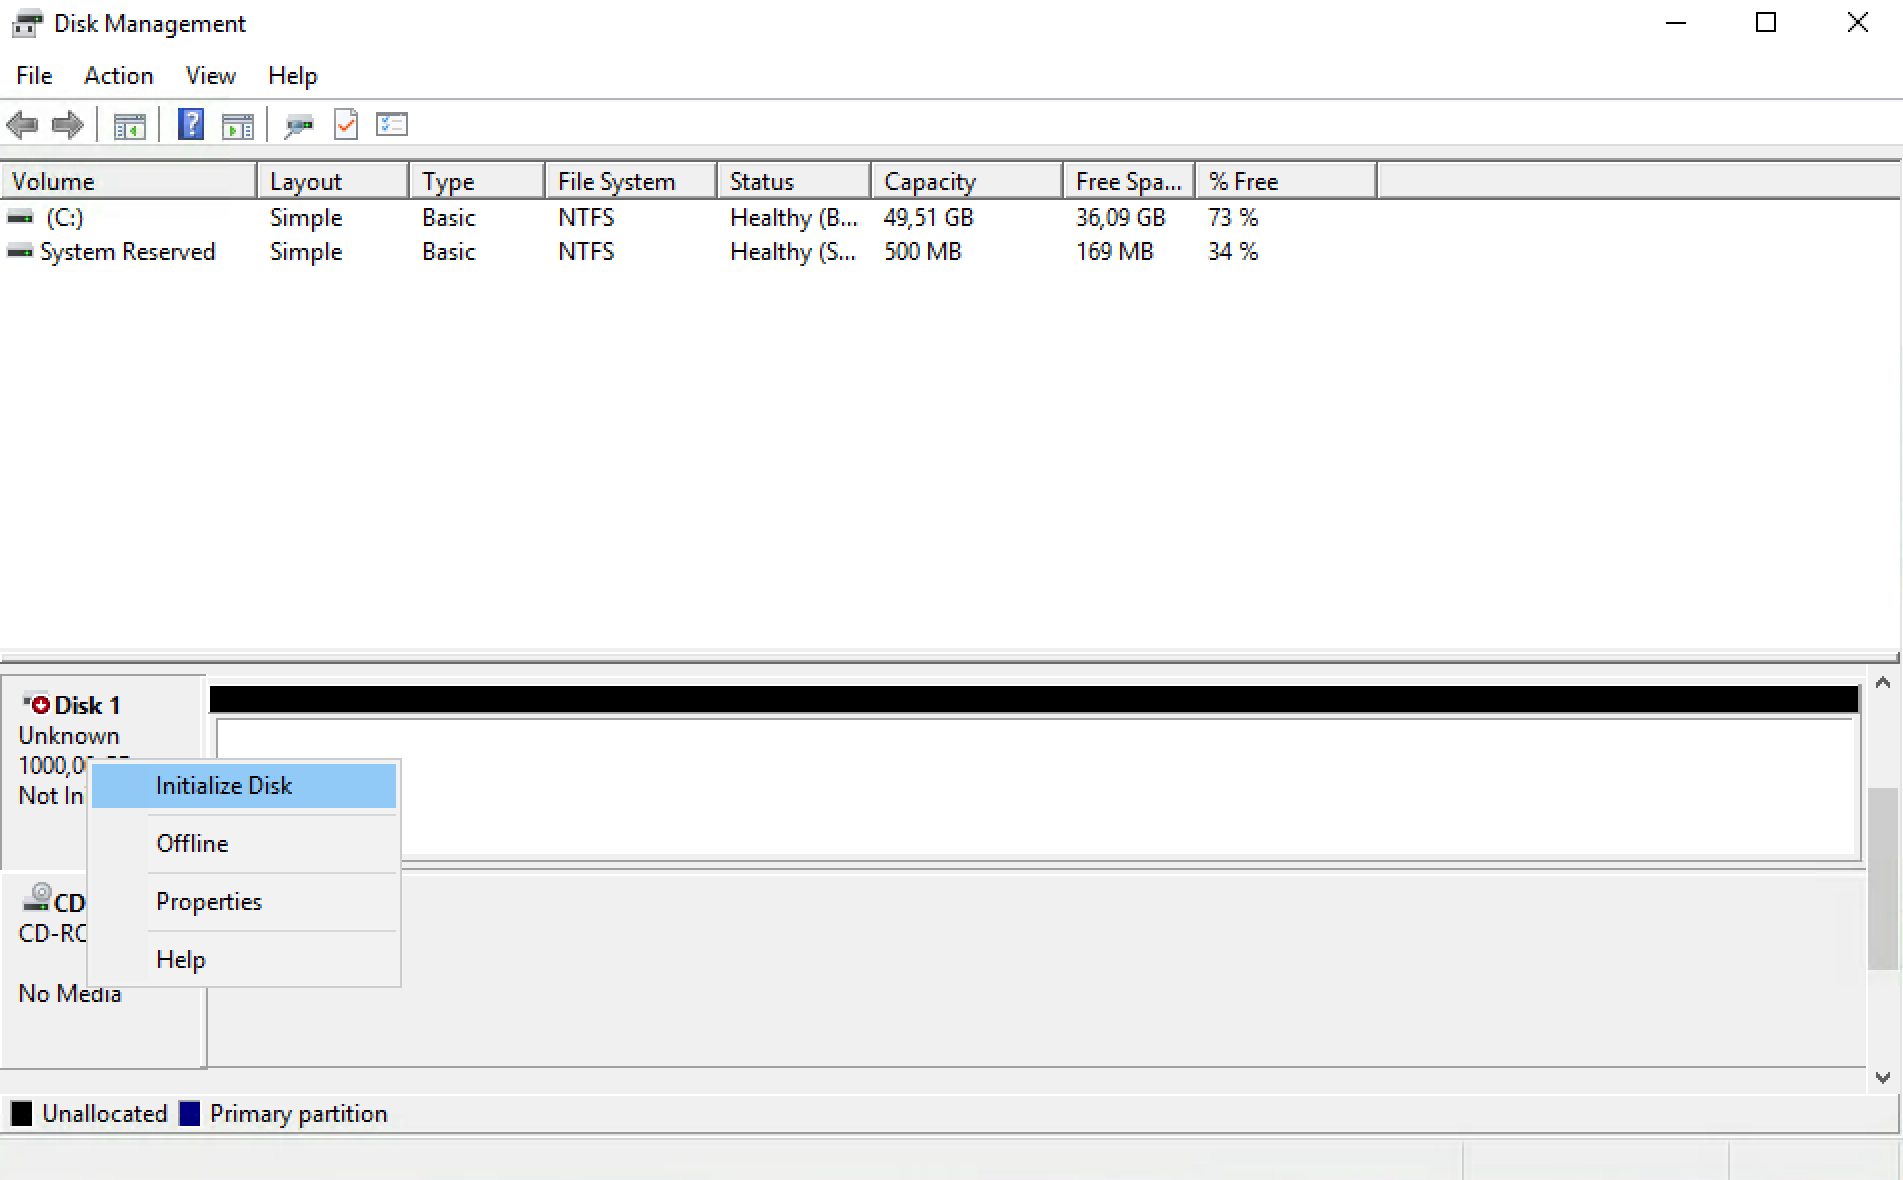
- Right click again on the disk and click Initialize Disk
- Choose your partitioning style and click OK
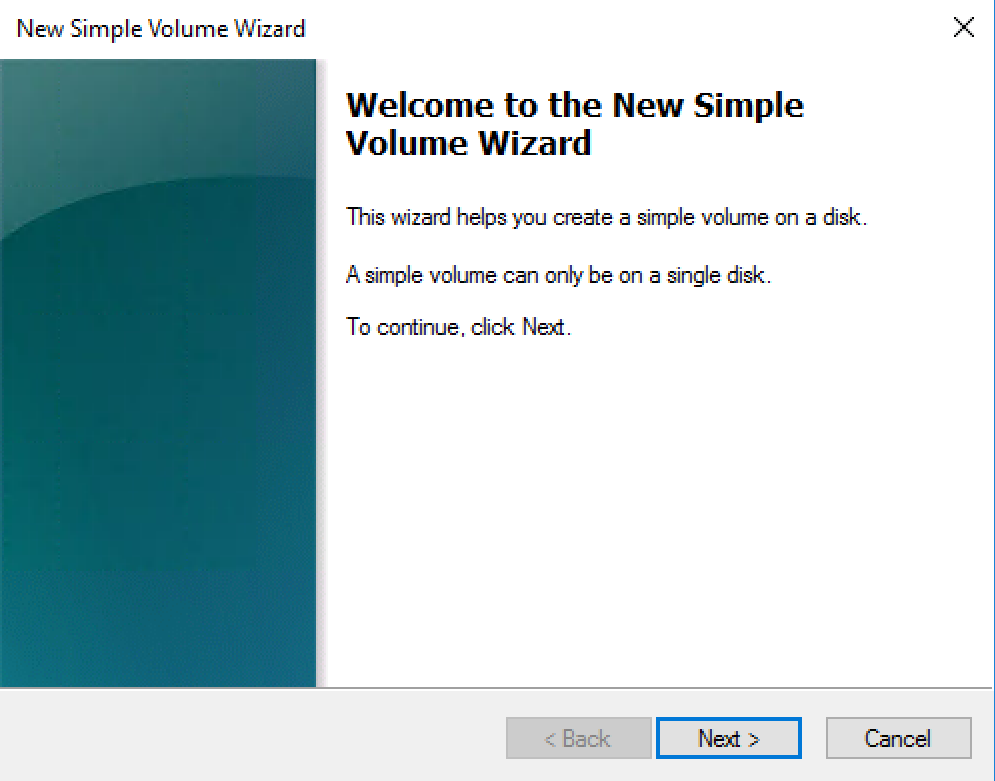
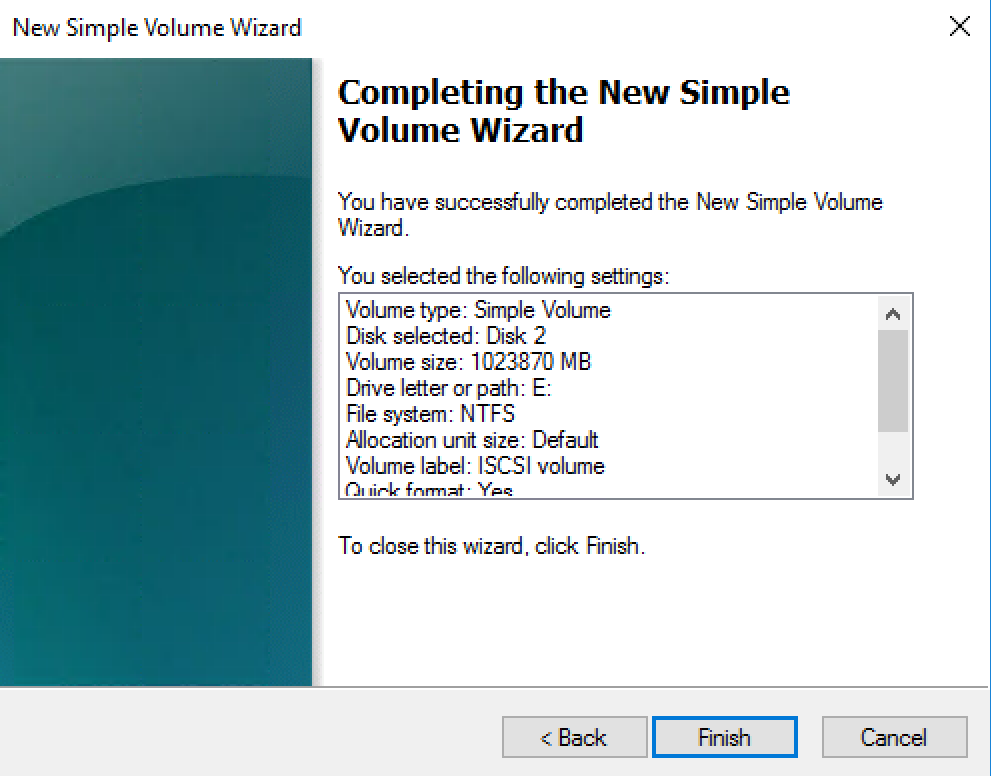
- Right click on the unallocated space and click new simple volume
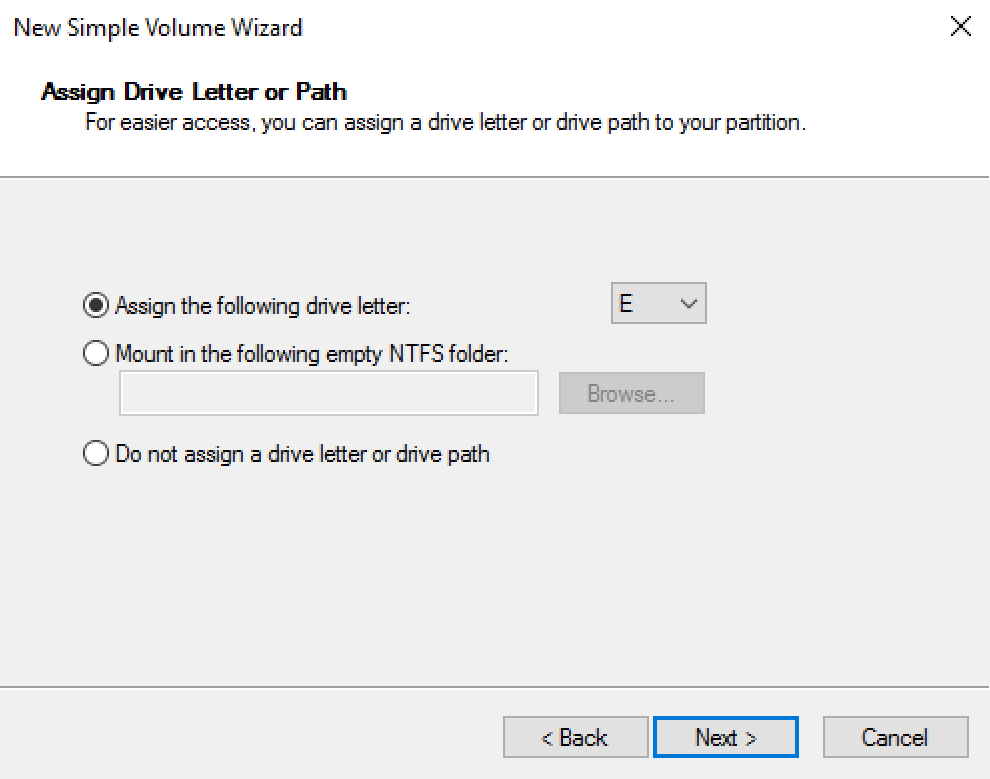
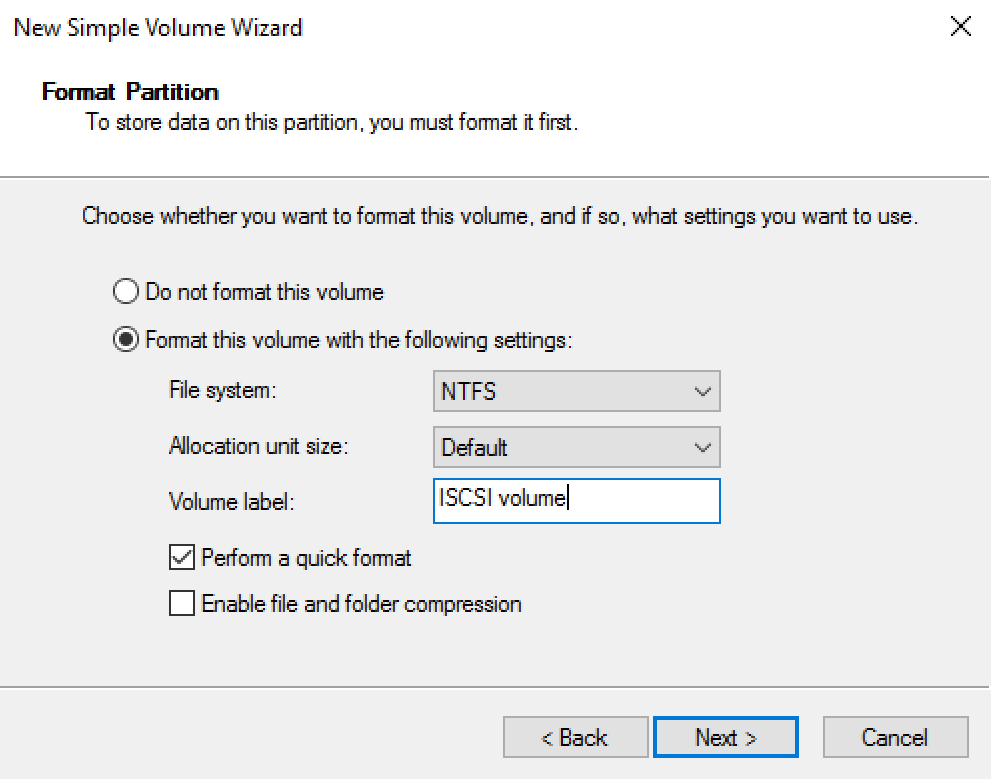
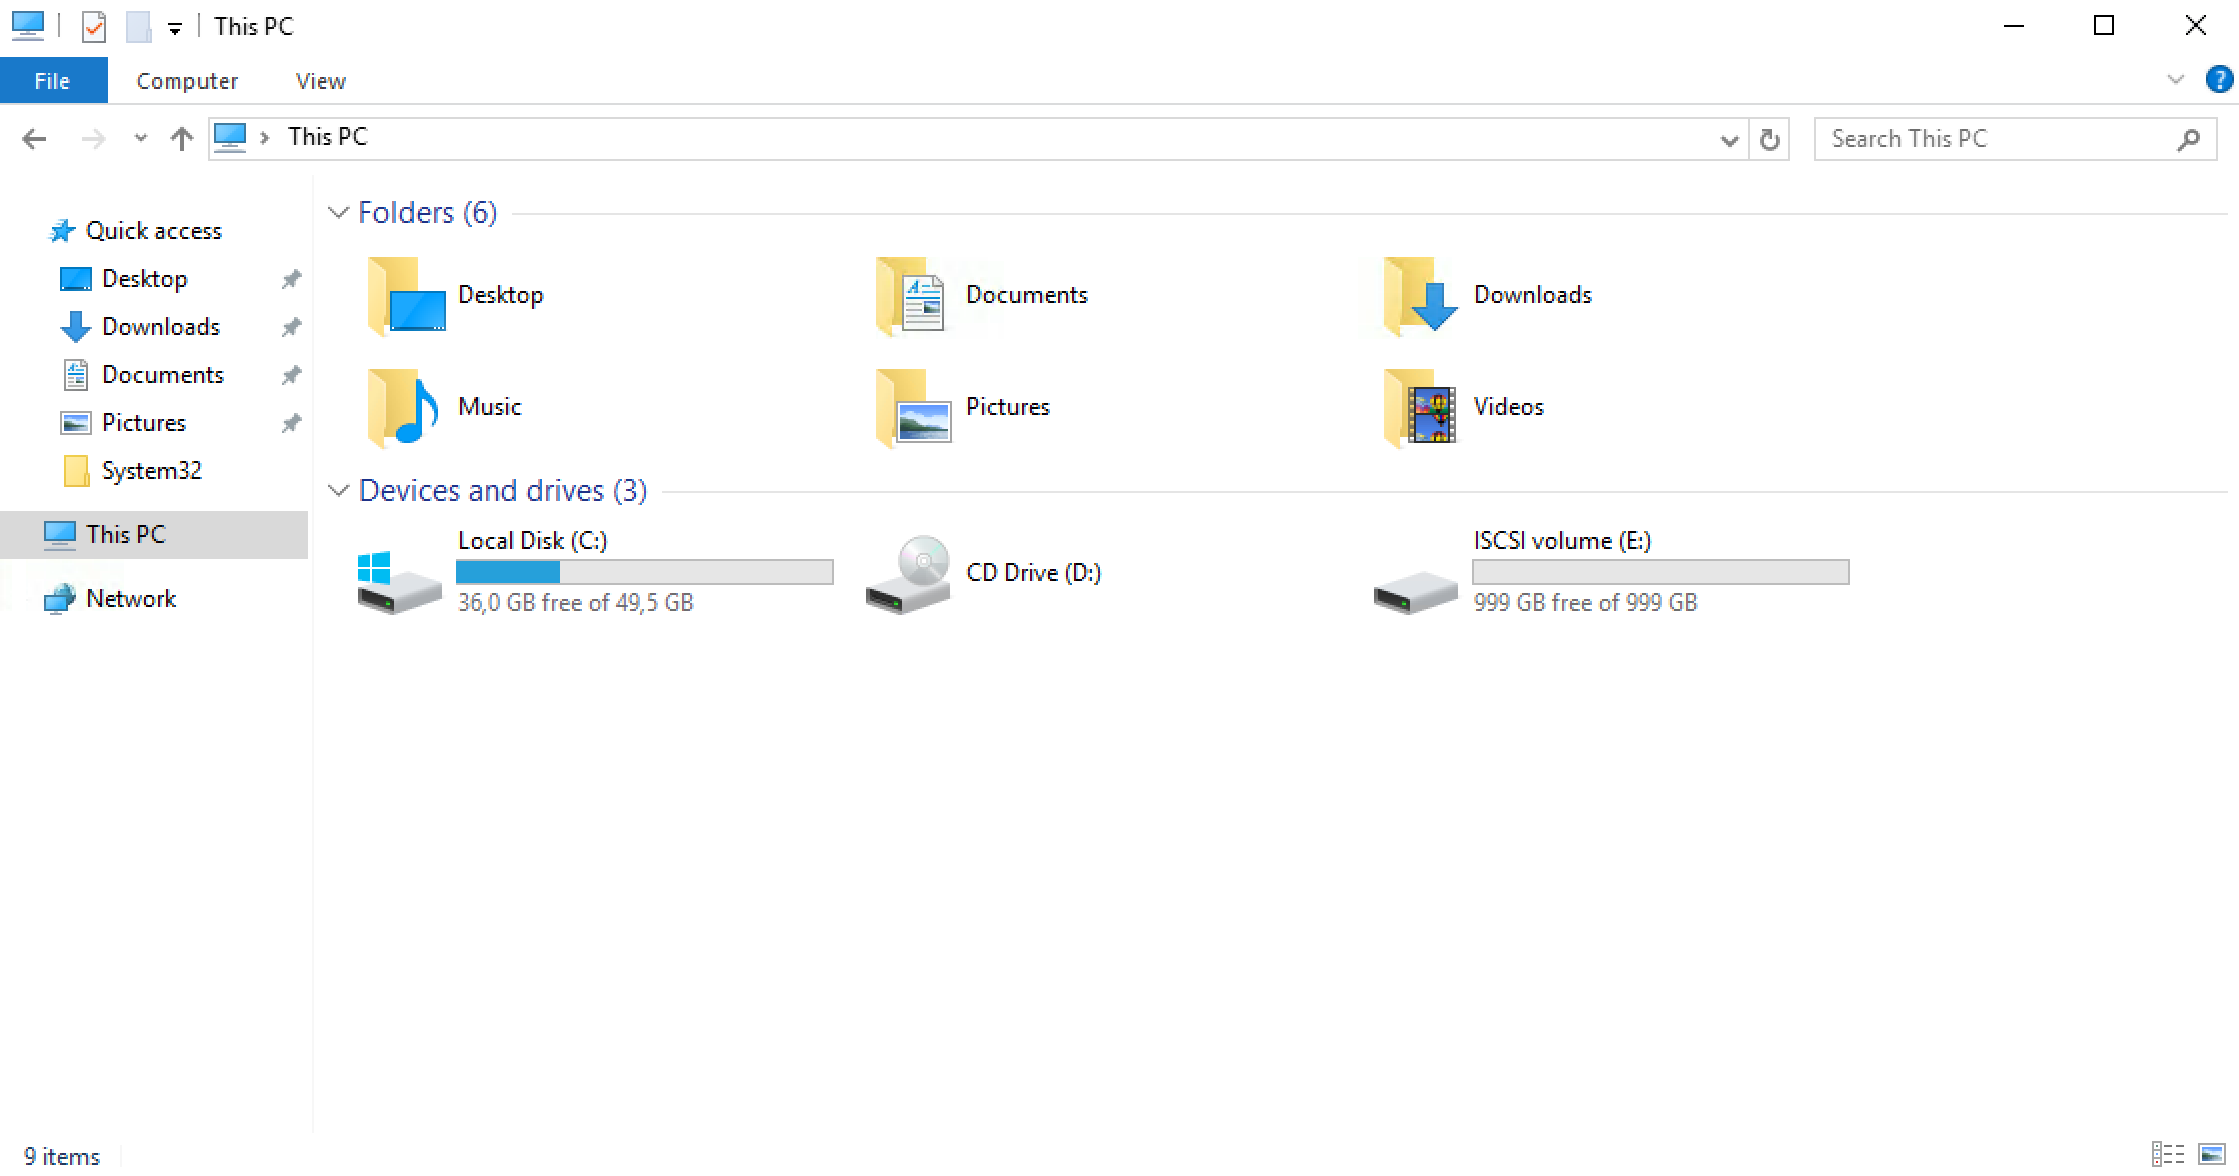
- Follow the wizard, assign a drive letter and your volume is ready to use.
- The Volume is ready to use


If everything goes well you should now see taht your target is connected


Connecting to your NFS volume:
Go to Linux NFS Documentation Go to Windows NFS DocumentationNFS on Linux
- First of all, you need to install the NFS client:
- After that, you need to create your mountpoint:
- Then you can mount the volume:
NFS on Windows
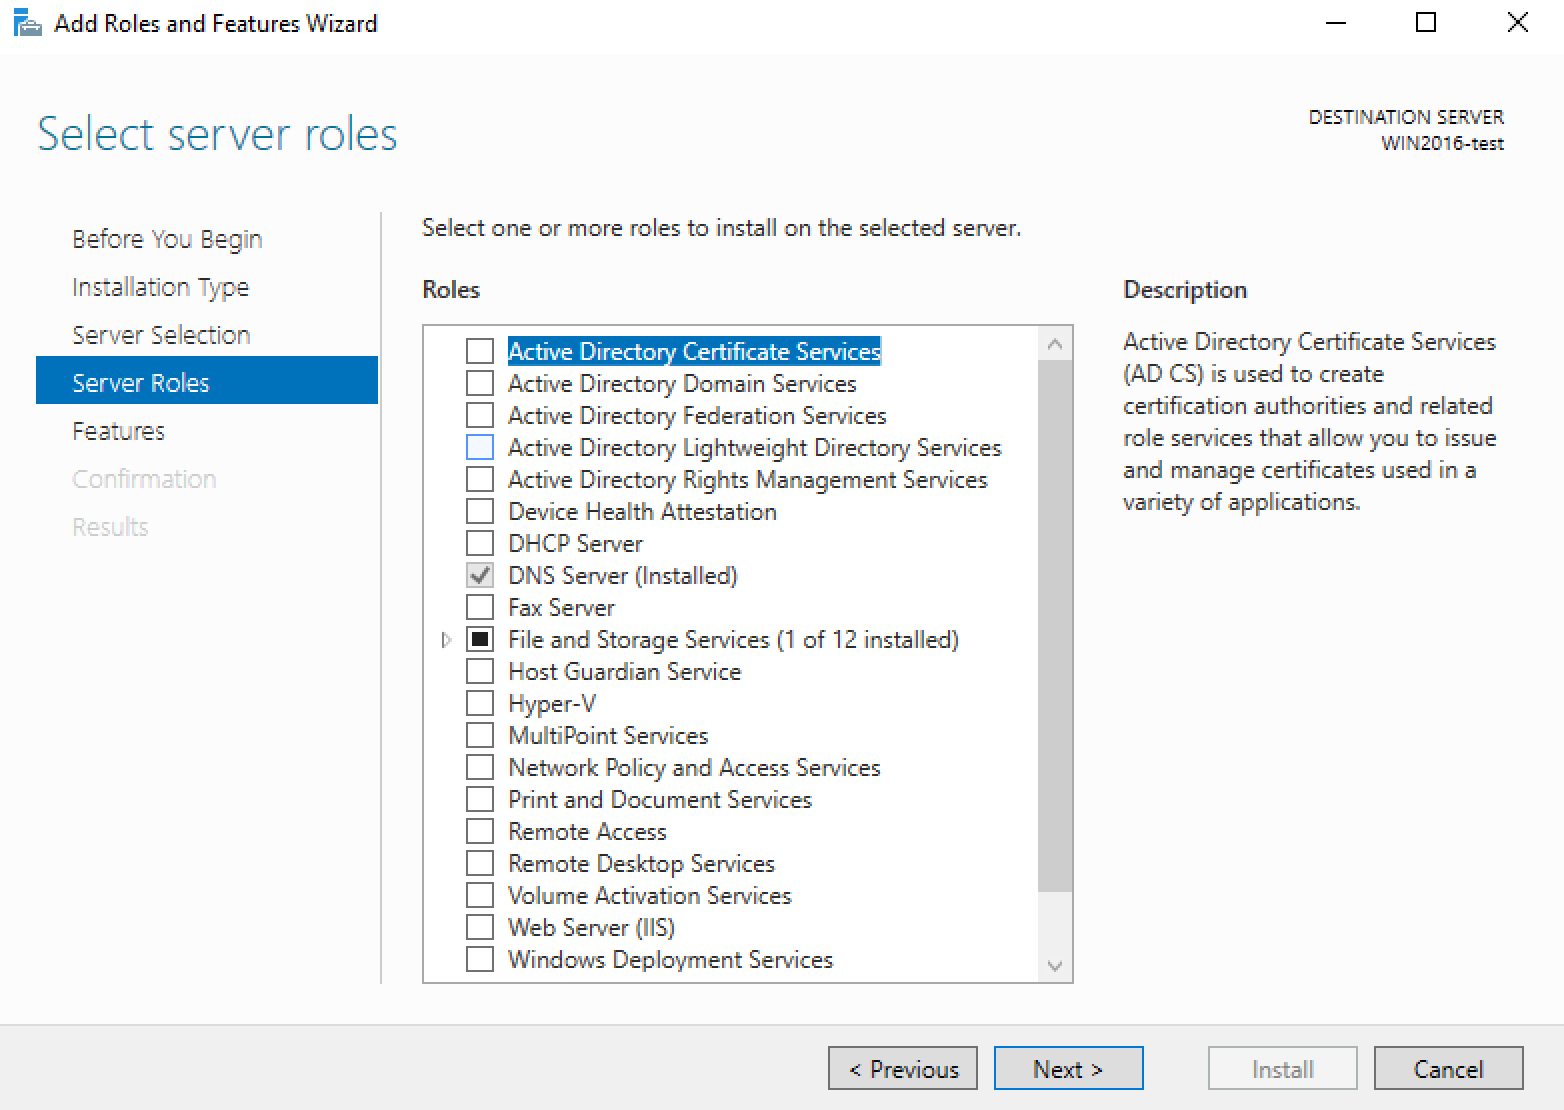
- Open Windows Server Manager (start => Server manager)
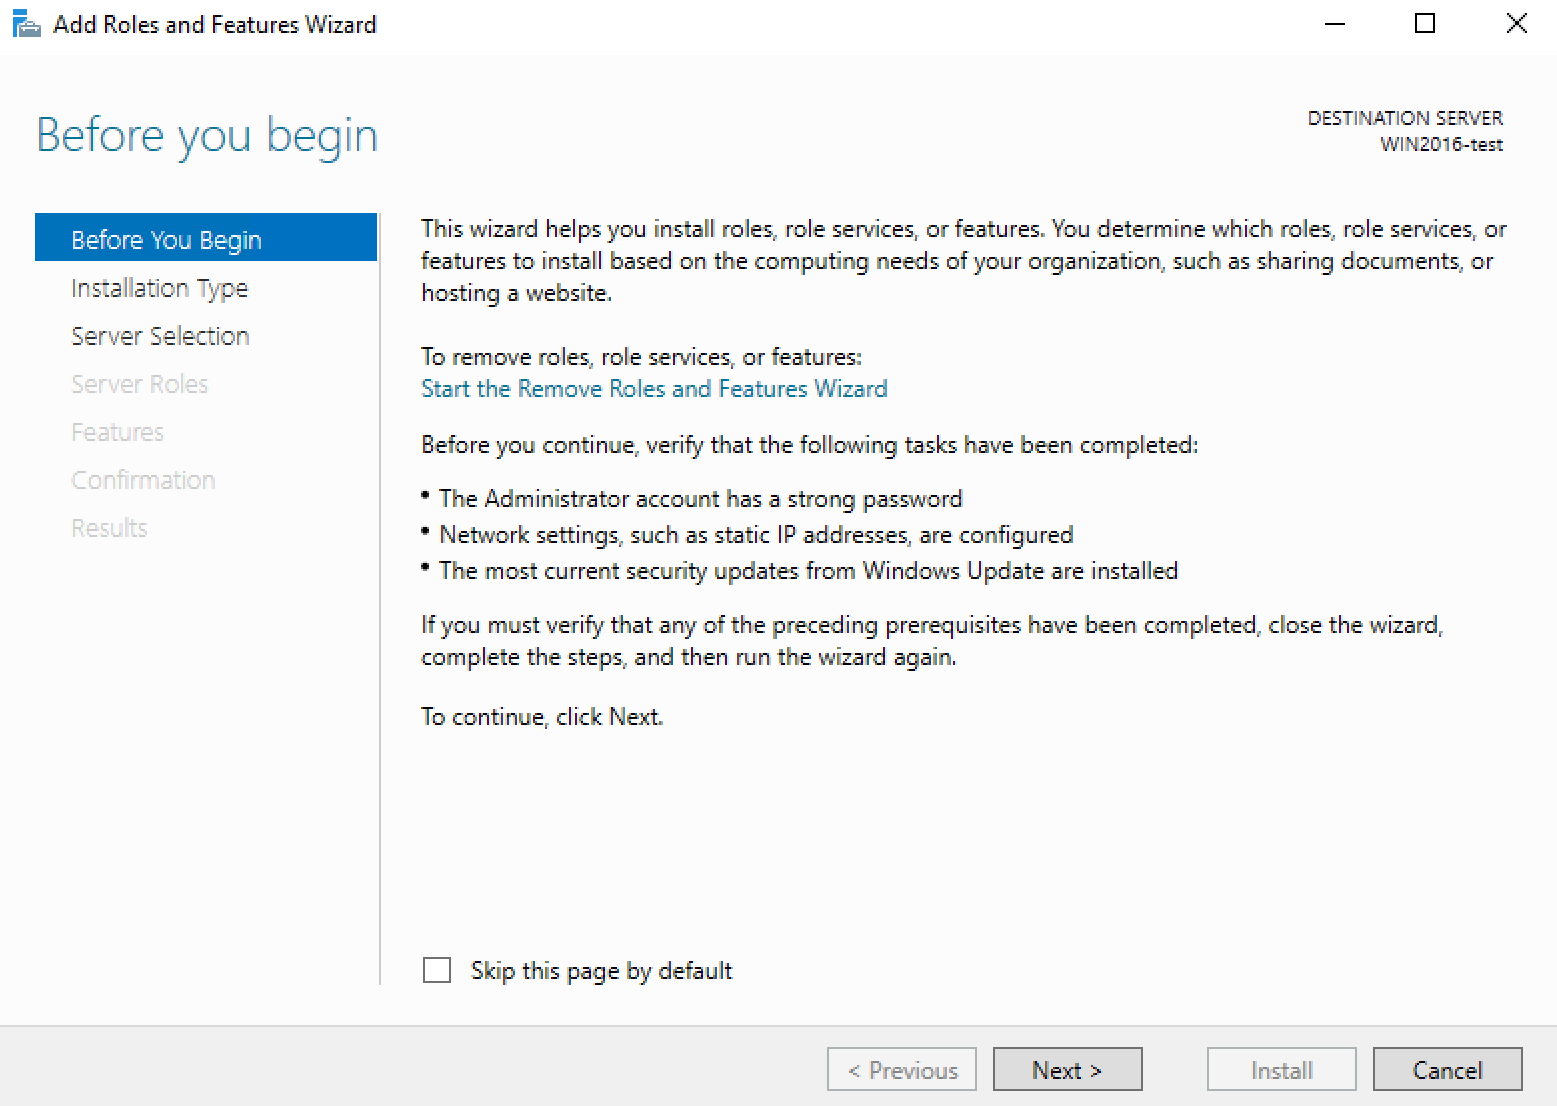
- Click 'Manage Add Roles'
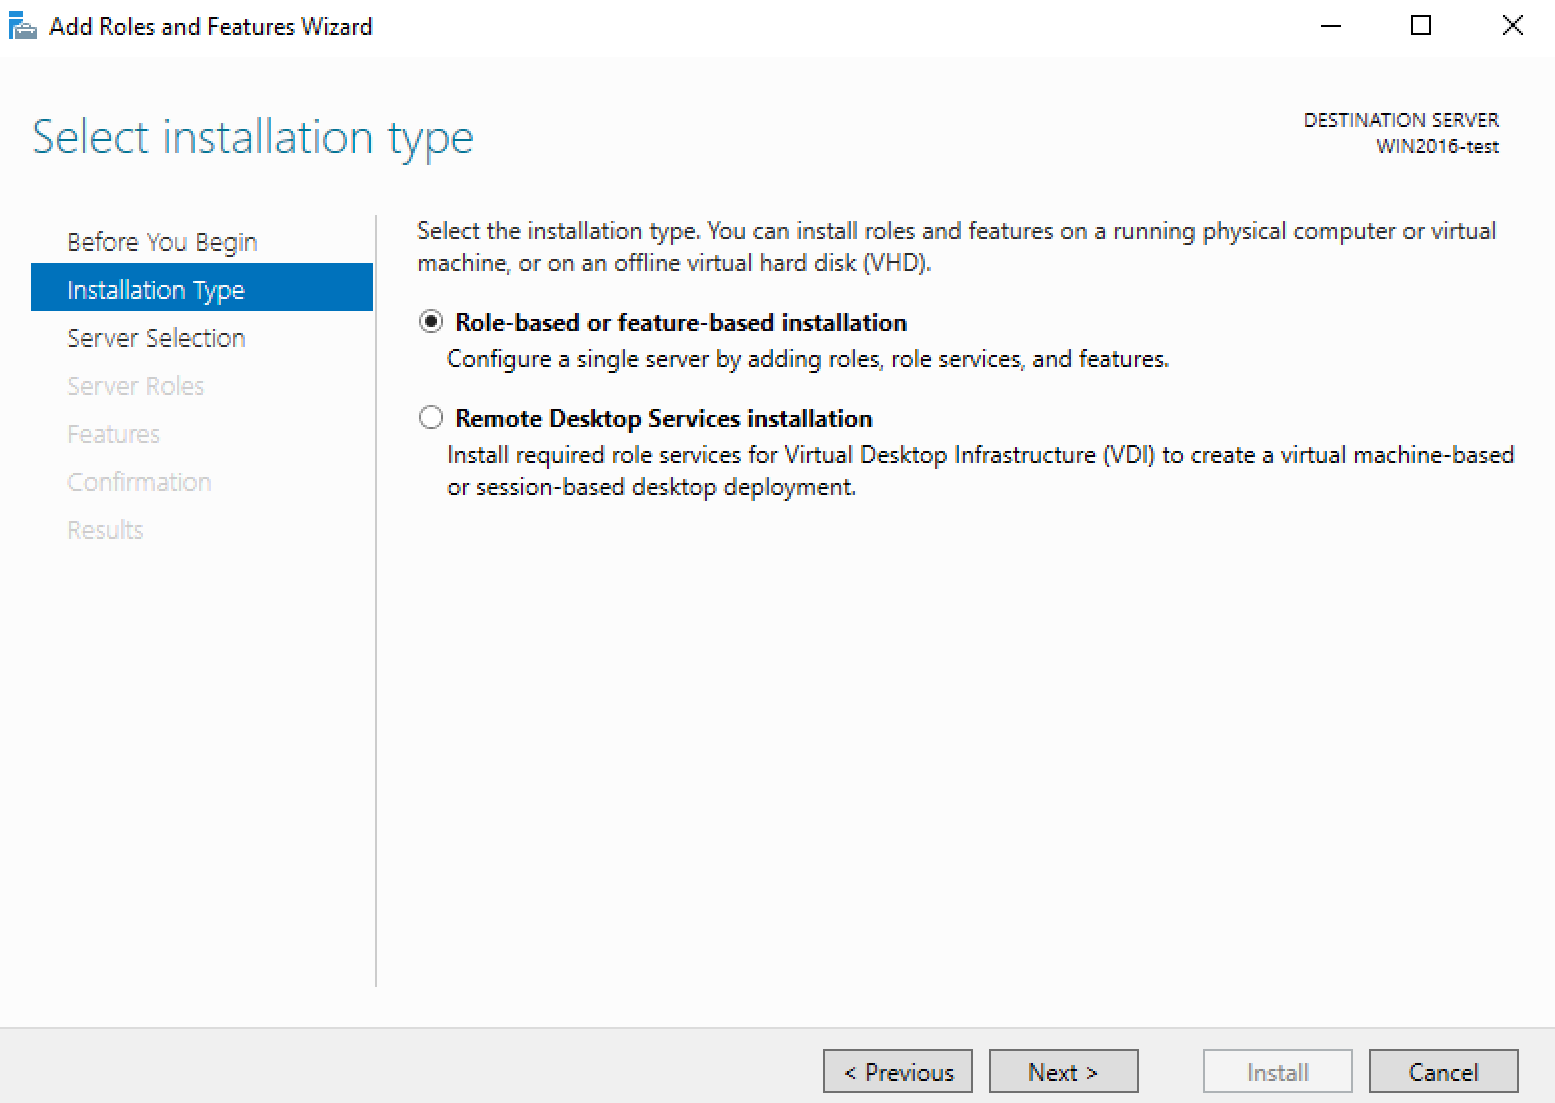
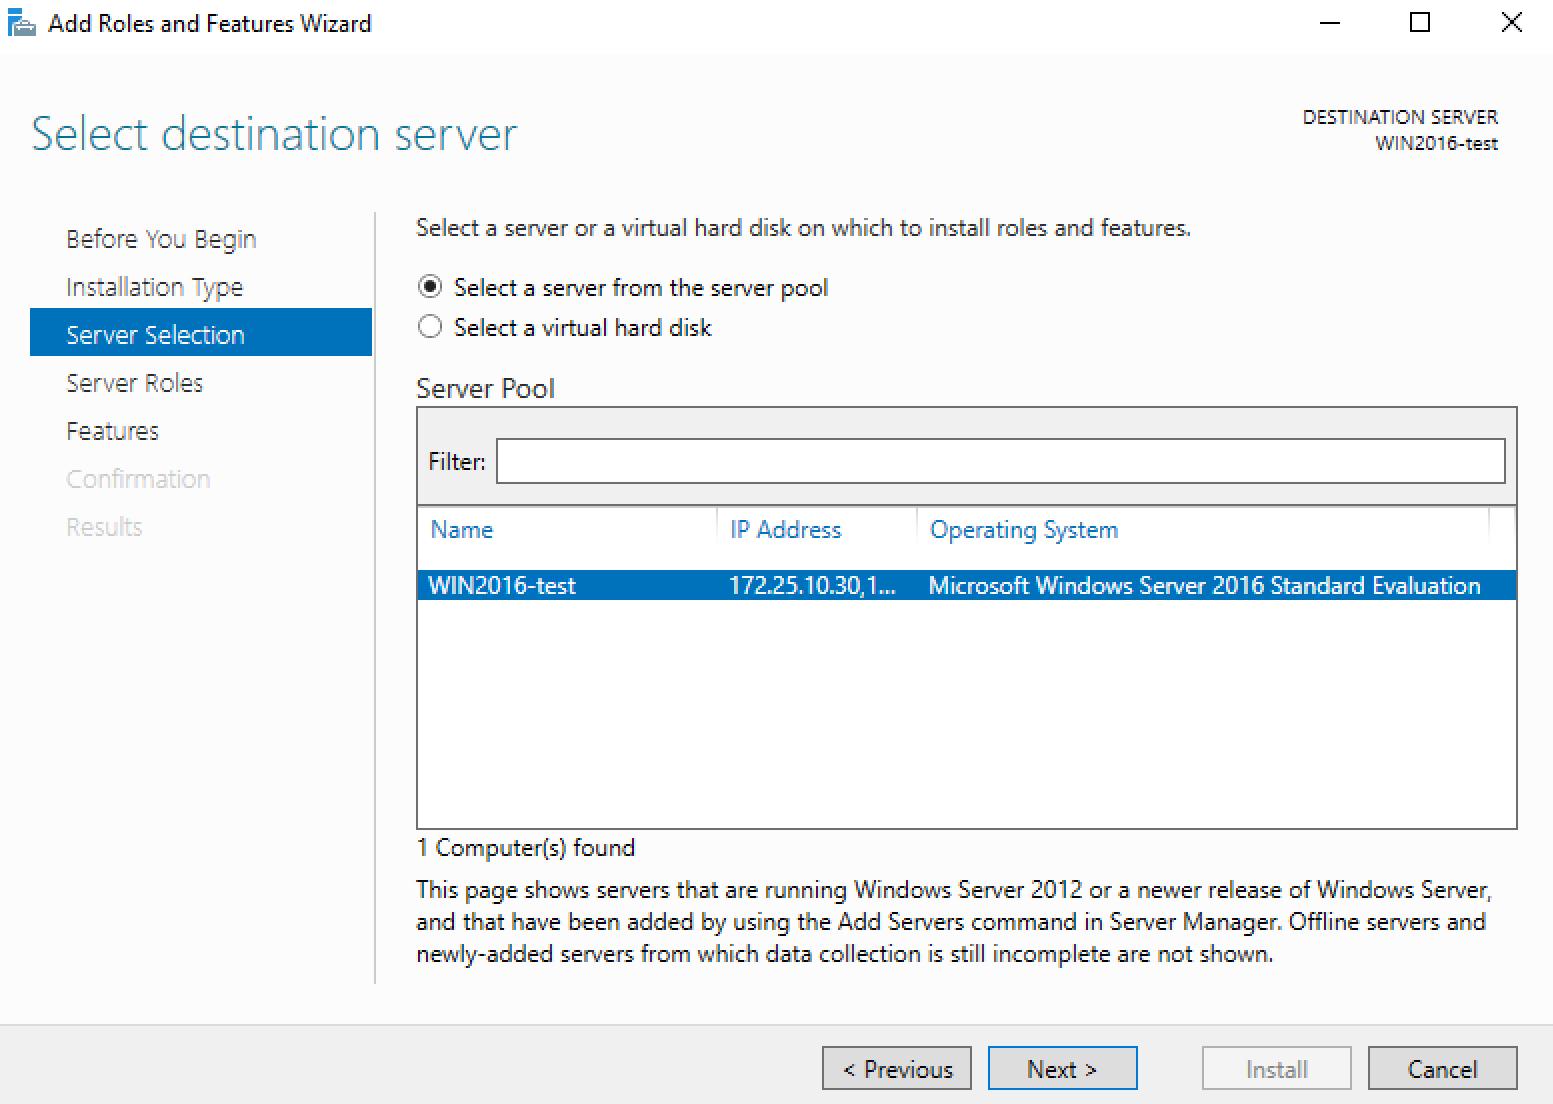
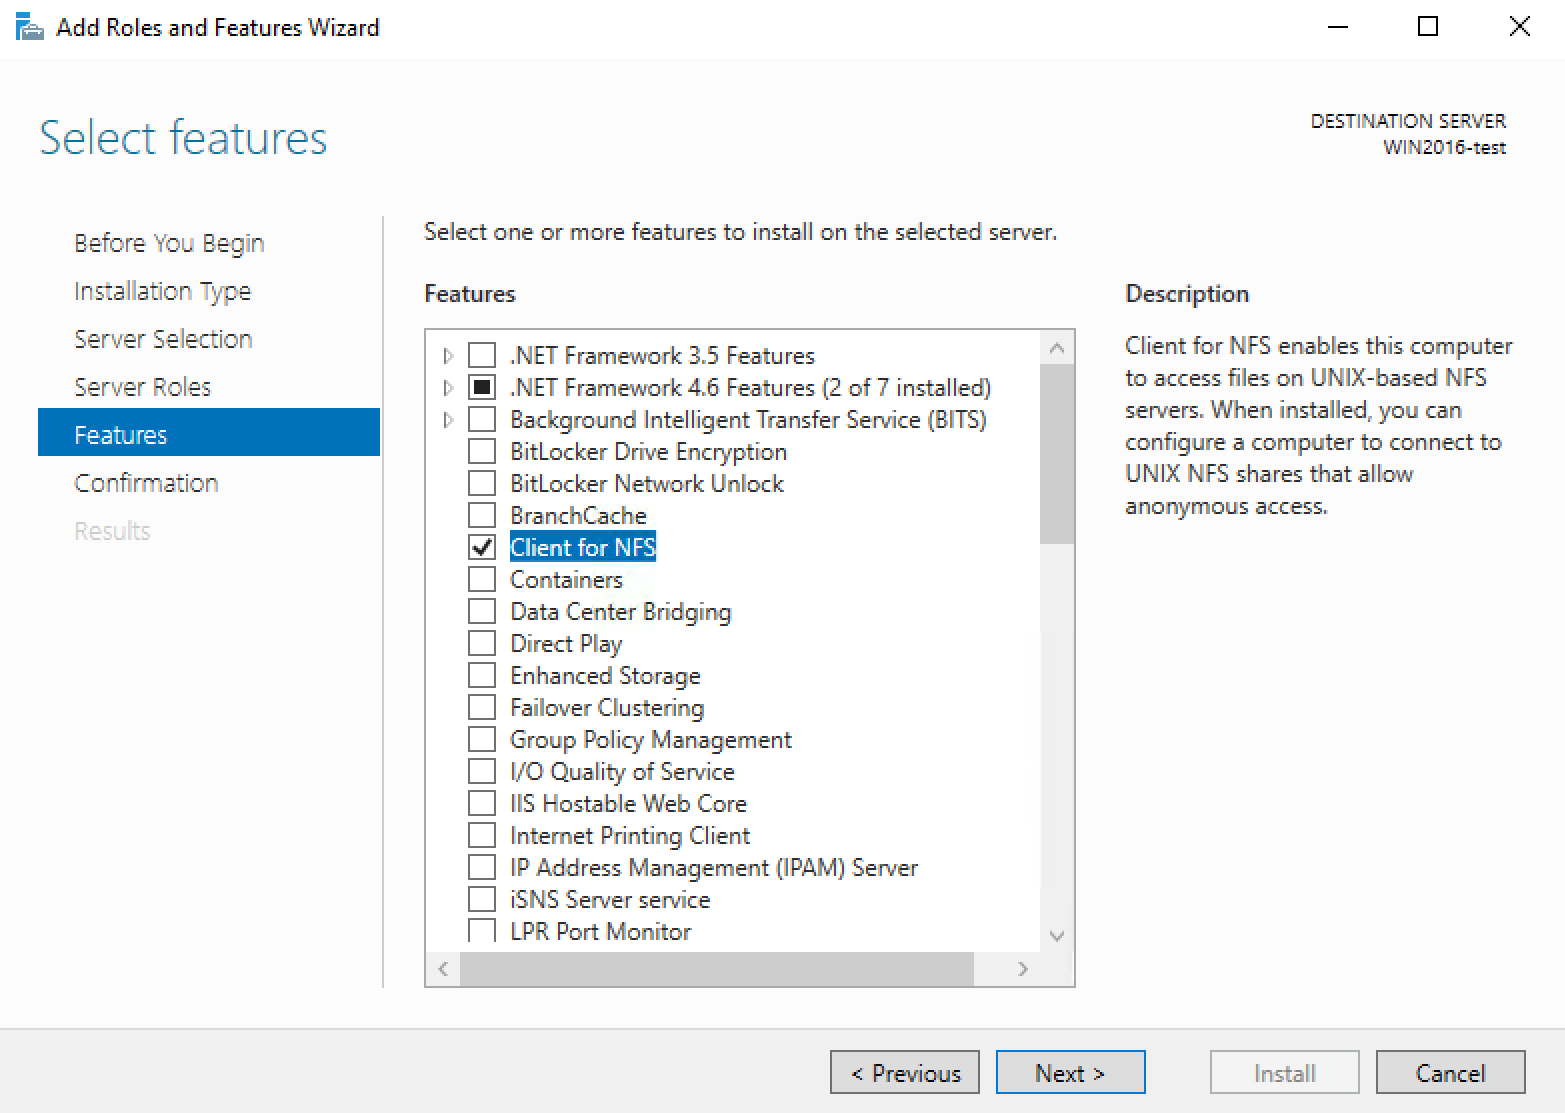
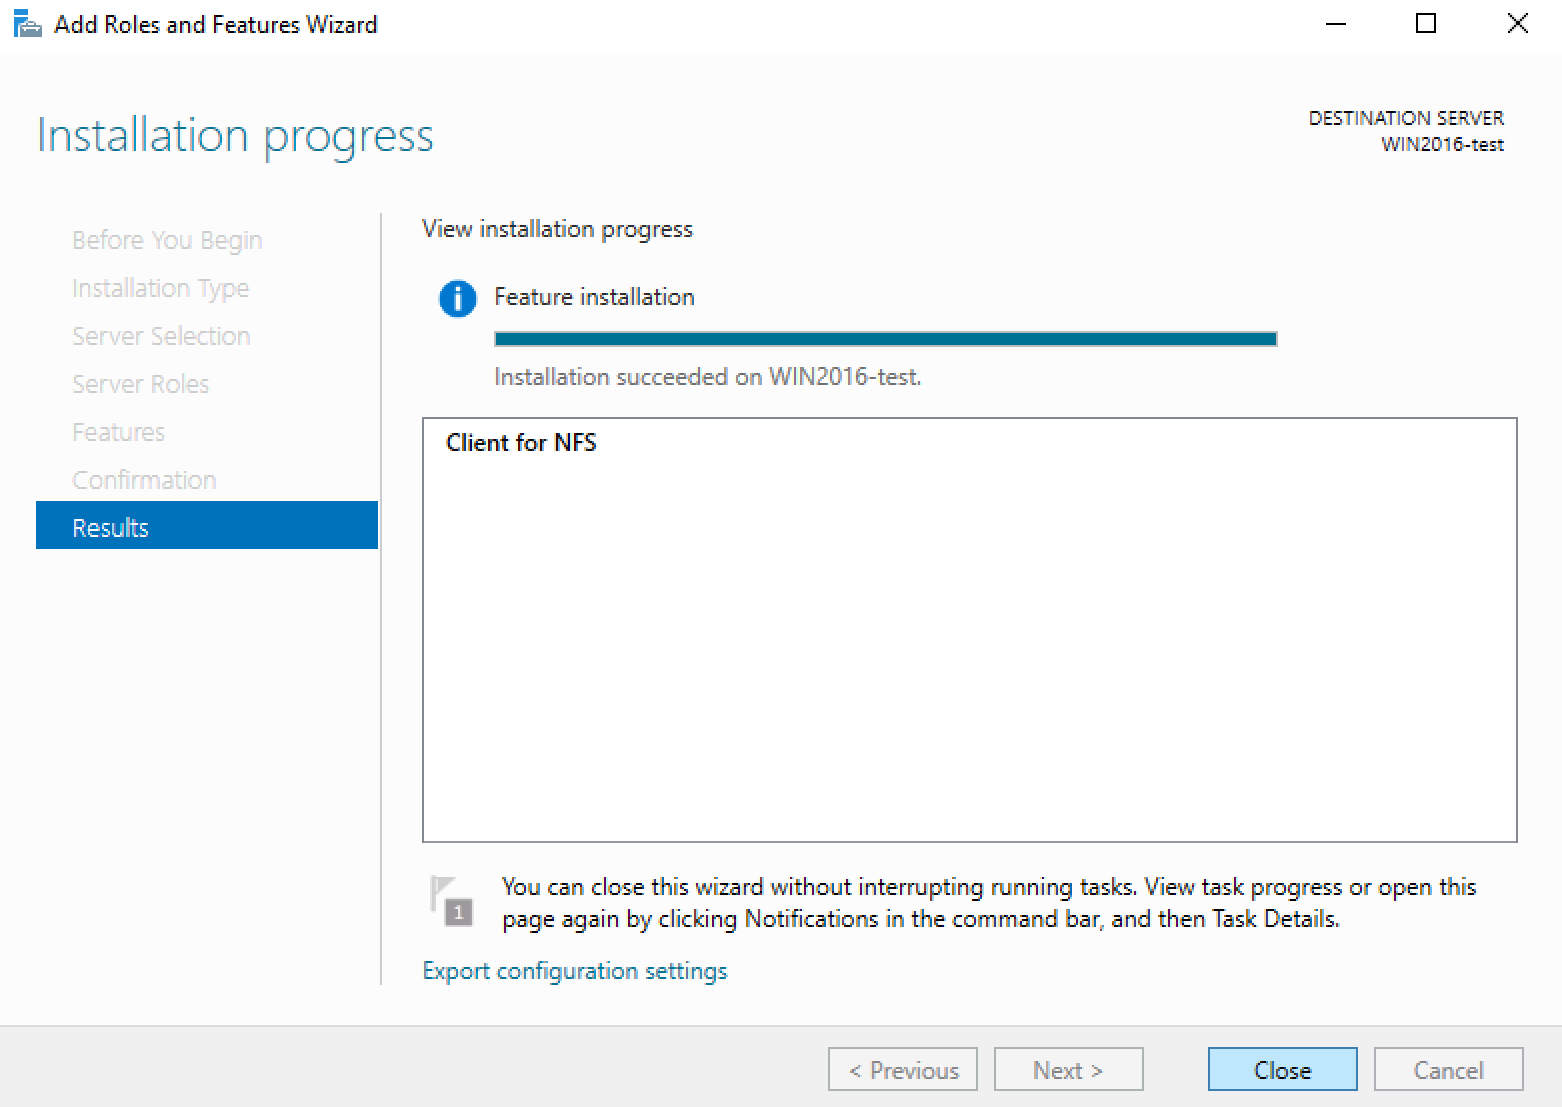
- Follow the wizard, to install the NFS Client feature.
- Click on Map Network Drive
- Map Network Drive